Apollo Light/City/Explore 2020-21 Kickstand ReplacementUpdated a year ago
Your kickstand may need to be removed if non-functioning or damaged. Here is a guide to removing and replacing your kickstand.
You will need the following tools for this repair:
- 4mm Allen Key
This guide is applicable for the Apollo Light, Apollo City, and Apollo Explore models from 2020-21. For this repair, we strongly recommend elevating your scooter on a box or chair.
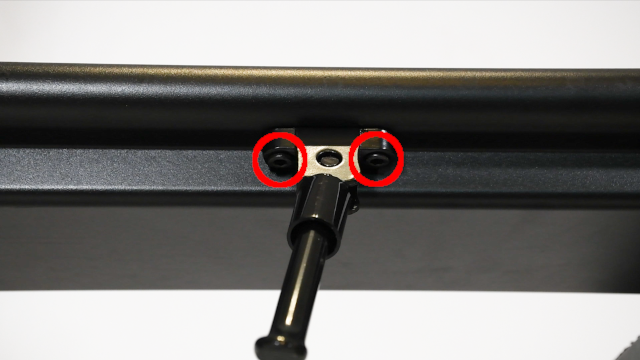
STEP 1: Locate the kickstand & bolts
The kickstand is located on the left side of the board. It is held in place by two bolts, both of which can be removed with a 4mm Allen key.
STEP 2: Remove the bolts
Orient yourself so that you face the left side of the deck. Insert your Allen key into the leftmost bolt and turn counterclockwise until completely loose. Repeat with the rightmost bolt.
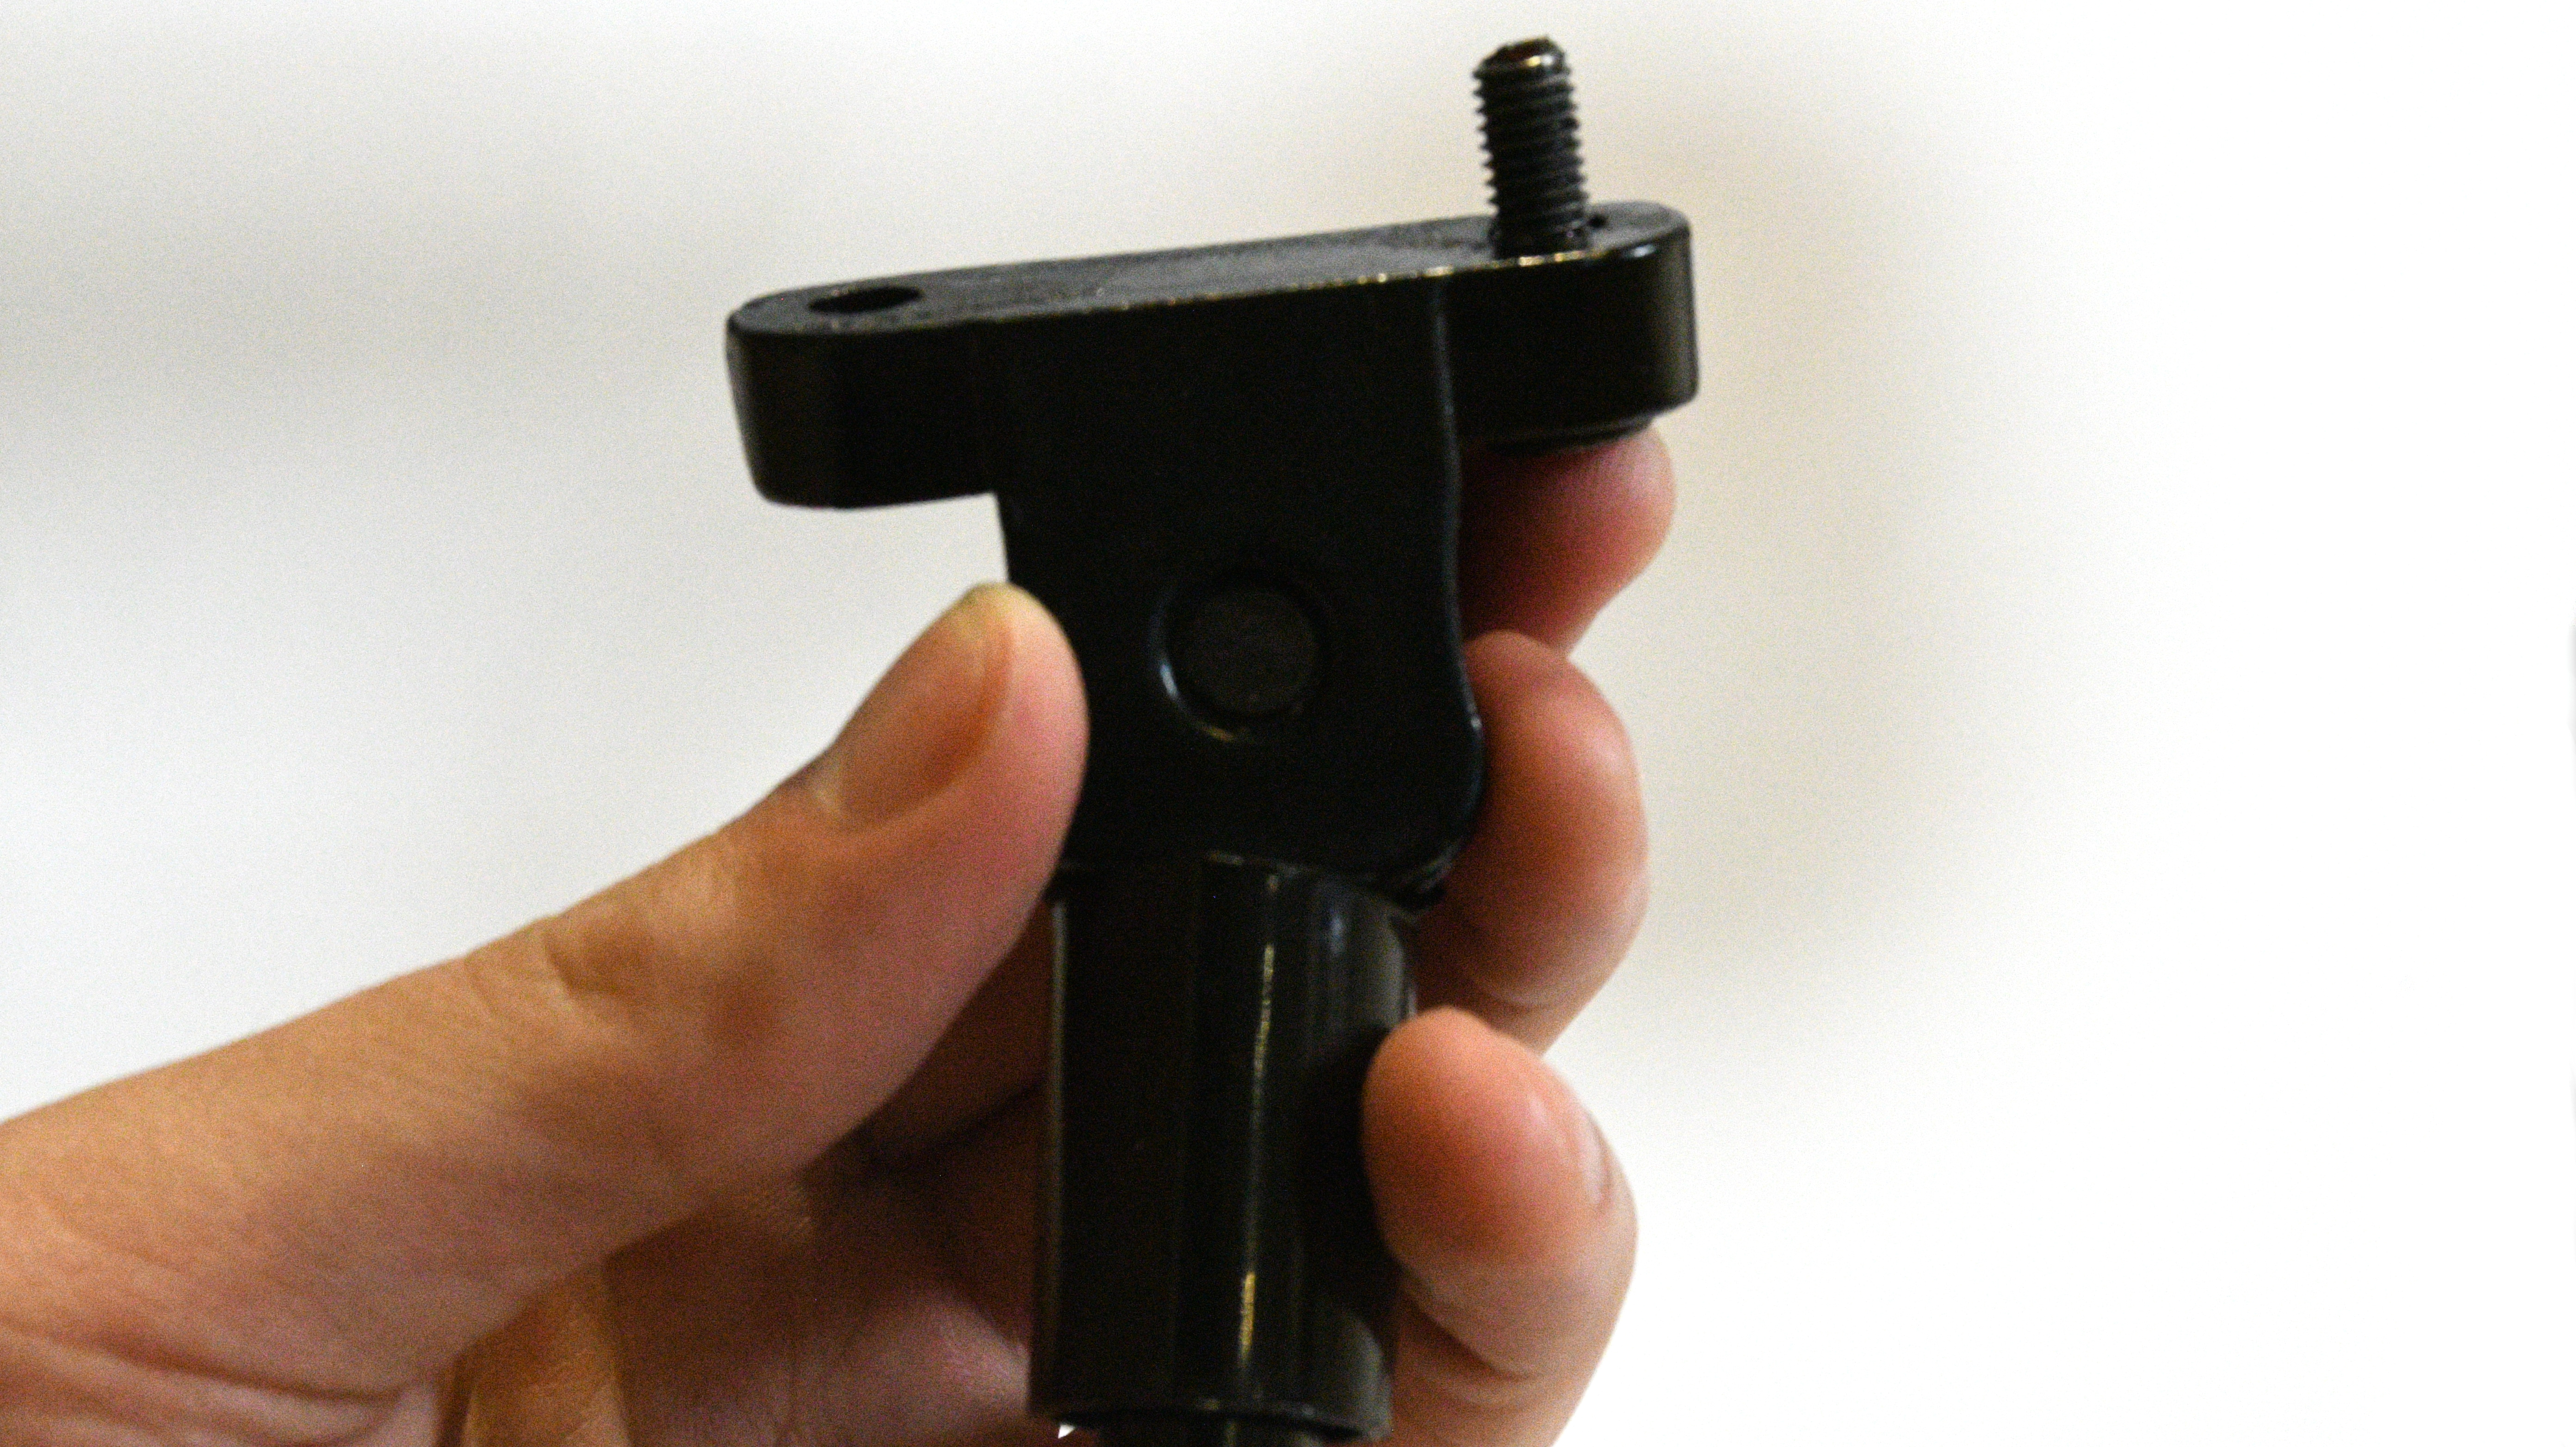
STEP 3: Remove the kickstand
Once the bolts are sufficiently loose, the kickstand should be removable. Pull out the bolts and put them aside. Once both bolts are removed, the kickstand should follow.
STEP 4: Position replacement kickstand
Align the holes of the replacement kickstand with the holes in your scooter. Ensure that the kickstand is flush with the side of the board. It may help to take one of the bolts and use it as a guide!
STEP 5: Screw in bolts
Insert one of the bolts into the leftmost hole. Using the Allen key, turn counterclockwise to tighten. Repeat with the rightmost hole and second bolt.
You’re done! You have successfully removed and replaced your kickstand.
If you have any other questions feel free to reach out to our A-Team at [email protected]