Apollo Light Set Up GuideUpdated 2 years ago
If you just received your Apollo Light electric scooter and want to learn how to make the most out of it, follow our set up guide below to get set-up for your very first ride!
When you first receive your scooter and unpack it, you will see included:
- Charger box plus wall plug
- User manual
- Multi-tool
- Scooter
Remove the styrofoam packaging and pull the scooter out of the box.
You will notice that the throttle and brake handles are all loose when delivered to avoid any damage during shipping.
To unfold the scooter: locate the blue latch at the base of the stem:

Pull the latch down to release the folding mechanism pin, which will allow you to unfold the scooter.
Ensure the stem is completely upright and the pin should lock back in place.
**VERY IMPORTANT**: there should be a “click” sound when the pin locks into place, letting you know the stem is secure and the scooter is safe to ride
Now you can unwrap the bubble wrap and packaging from the stem and handlebars. You can gently use a knife to cut into the wrapping, being careful not to snip any wires.
Your handlebars come folded down when being shipped, and you can simply lift them into the upright position.
To secure the handlebars, tighten the blue rings that attach to the center stem:

To loosen the handlebars later, simply turn the blue rings in the opposite direction and pull gently on them once it allows you to do so.
Next, raise the neck extension to a comfortable position by using the quick-release latch on the side of the stem:

You can tighten or loosen the clamping strength of the latch by spinning it in the direction you desire.
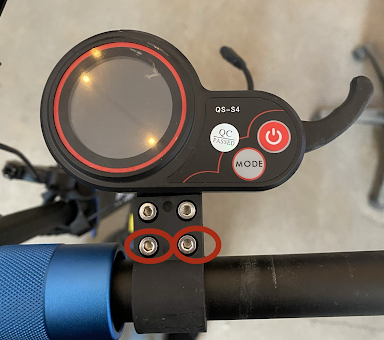
Now it’s time to adjust the position of the attachments on your handlebars. Using the multi-tool provided in the box, find the appropriate Allen-key for each attachment, and position them in a way that will be comfortable for you to use while riding.
The adjustment screw for most of the attachments, can be found on the back of each corresponding attachment. To tighten the throttle, it only requires the bottom two screws on the front of the bracket to be adjusted.
If you add accessories to your handlebars, you may need to adjust the position of the brake handles and throttle, but be sure to leave enough room for the blue rings to move, allowing you to fold down the handlebars.
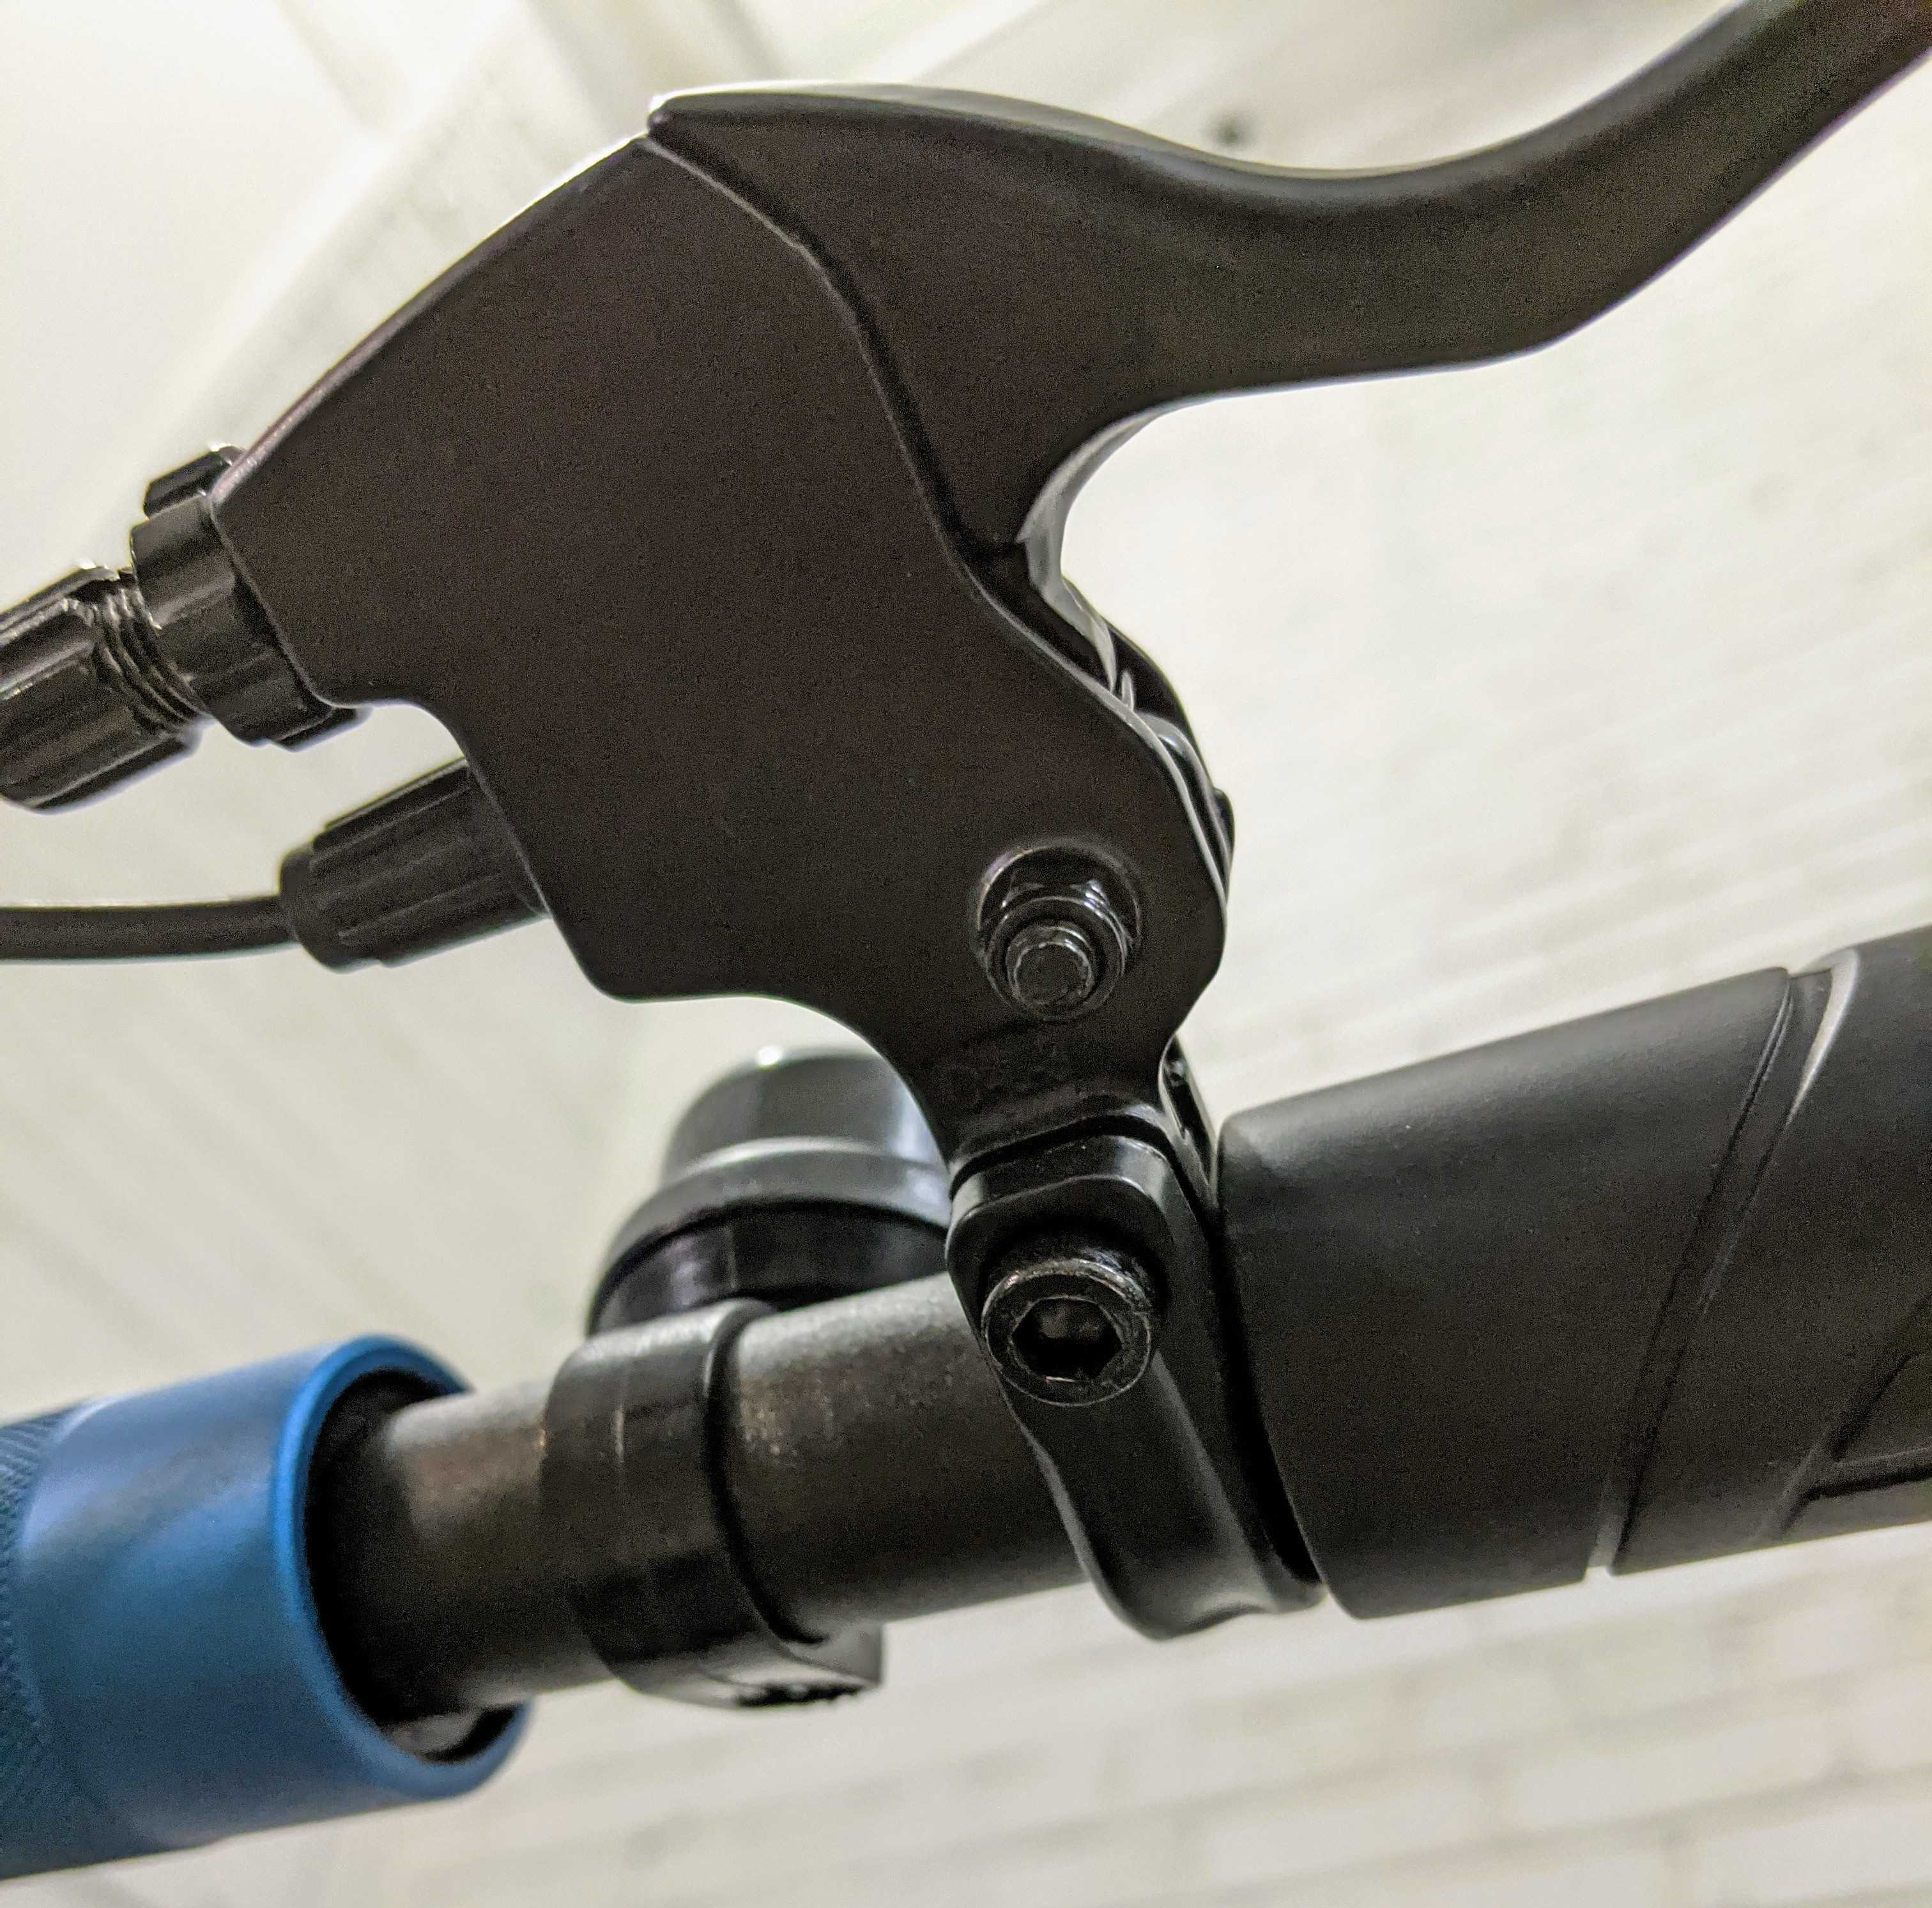
To tighten the brake handle, the screw can be found on the underside of the handle:
We recommend giving your scooter a full charge prior to your first ride to ensure there are no issues with either your charger or scooter battery. This way you will also have a full battery for your first ride.
The charging port can be found at the front left side of the deck, behind a protective rubber cap:

It’s very important that the charging port remains covered at all times when not in use, to prevent any water or debris getting into the port and damaging it.
To charge your scooter, plug the wall cable into the charger box first, and then connect it to the wall outlet before plugging it into the scooter. This will prevent your scooter from sparking, and will give the power output somewhere to go.
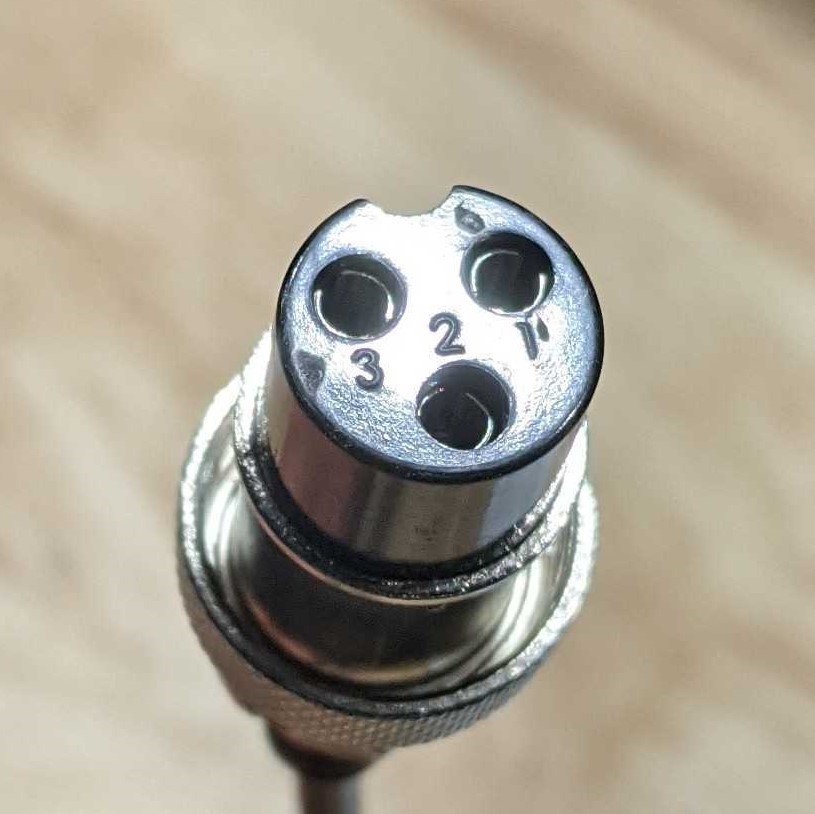
To plug the charger into the scooter, align the plug to line up with the charging port (there is a small divot that will line up with the corresponding groove on the scooter), and then spin the adjustment ring to secure the cable:
You will notice that the light on the charger box turns green when initially plugged into the wall, and should turn to red when plugged into the scooter (if the battery is not fully charged). Once the scooter is fully charged, the light will turn green again indicating it’s fully charged and ready to use.
Next step is to check the tires for the appropriate tire pressure. They should already be filled to 50PSI, which is the recommended tire pressure, but sometimes air can leak and escape during the shipping process.
Check the tires by squeezing the sides and ensure they are firm to the touch. If you have a pressure gauge or a tire pump with a built-in pressure gauge you can use that to verify it’s at 50PSI.
Now to turn the scooter on, hold the blue ‘Power’ button on the display for 2-3 seconds until the display lights up and turns on.
You will see your speedometer, odometer, ‘Gear’ setting, and battery charge level. To change your ‘Gear’ press the ‘Mode’ button to cycle through. The gears are 1-3 and simply act as a simple speed limiter.
To see your TRIP Odometer, press the ‘Power’ button once. If you press the ‘Power’ button again, you will see your current battery voltage.
To turn the lights on your scooter on, hold the ‘Mode’ button until the scooter lights up. To turn them back off, simply hold the ‘Mode’ button again, or turn the scooter off completely with the ‘Power’ button.
You’re now ready to start riding!
Bring the scooter outside to a safe area where you have some open area to ride. Place one foot on the deck and gently pull down on the trigger throttle, accelerating slowly. Once you get going fast enough to balance you can place your other foot on the deck as well.
That’s all there is to it! You’re now on your way to enjoying the freedom of the ride, and making your commute a little more enjoyable.
HOW TO LOCK THE SCOOTER
If you have a folding lock that you can loop through the spaces in the rim, you can attach it to a secured pole or bike rack, and loop it around the base of the stem. Even with a sturdy lock we recommend exercising caution and not leaving your scooter unattended for too long.

For more information and support feel free to reach out to our support team directly at [email protected]